

Table of contents
ClickUp Setup
WorkSights connects to ClickUp through OAuth authorization. Setup takes a few minutes and requires access to the ClickUp workspace you want to connect.
For an overview of how ClickUp activity appears in WorkSights, see ClickUp Overview.
Connecting ClickUp
Step 1: Connect in WorkSights
- Go to Services in the top navigation
- Find ClickUp in the list and click Connect
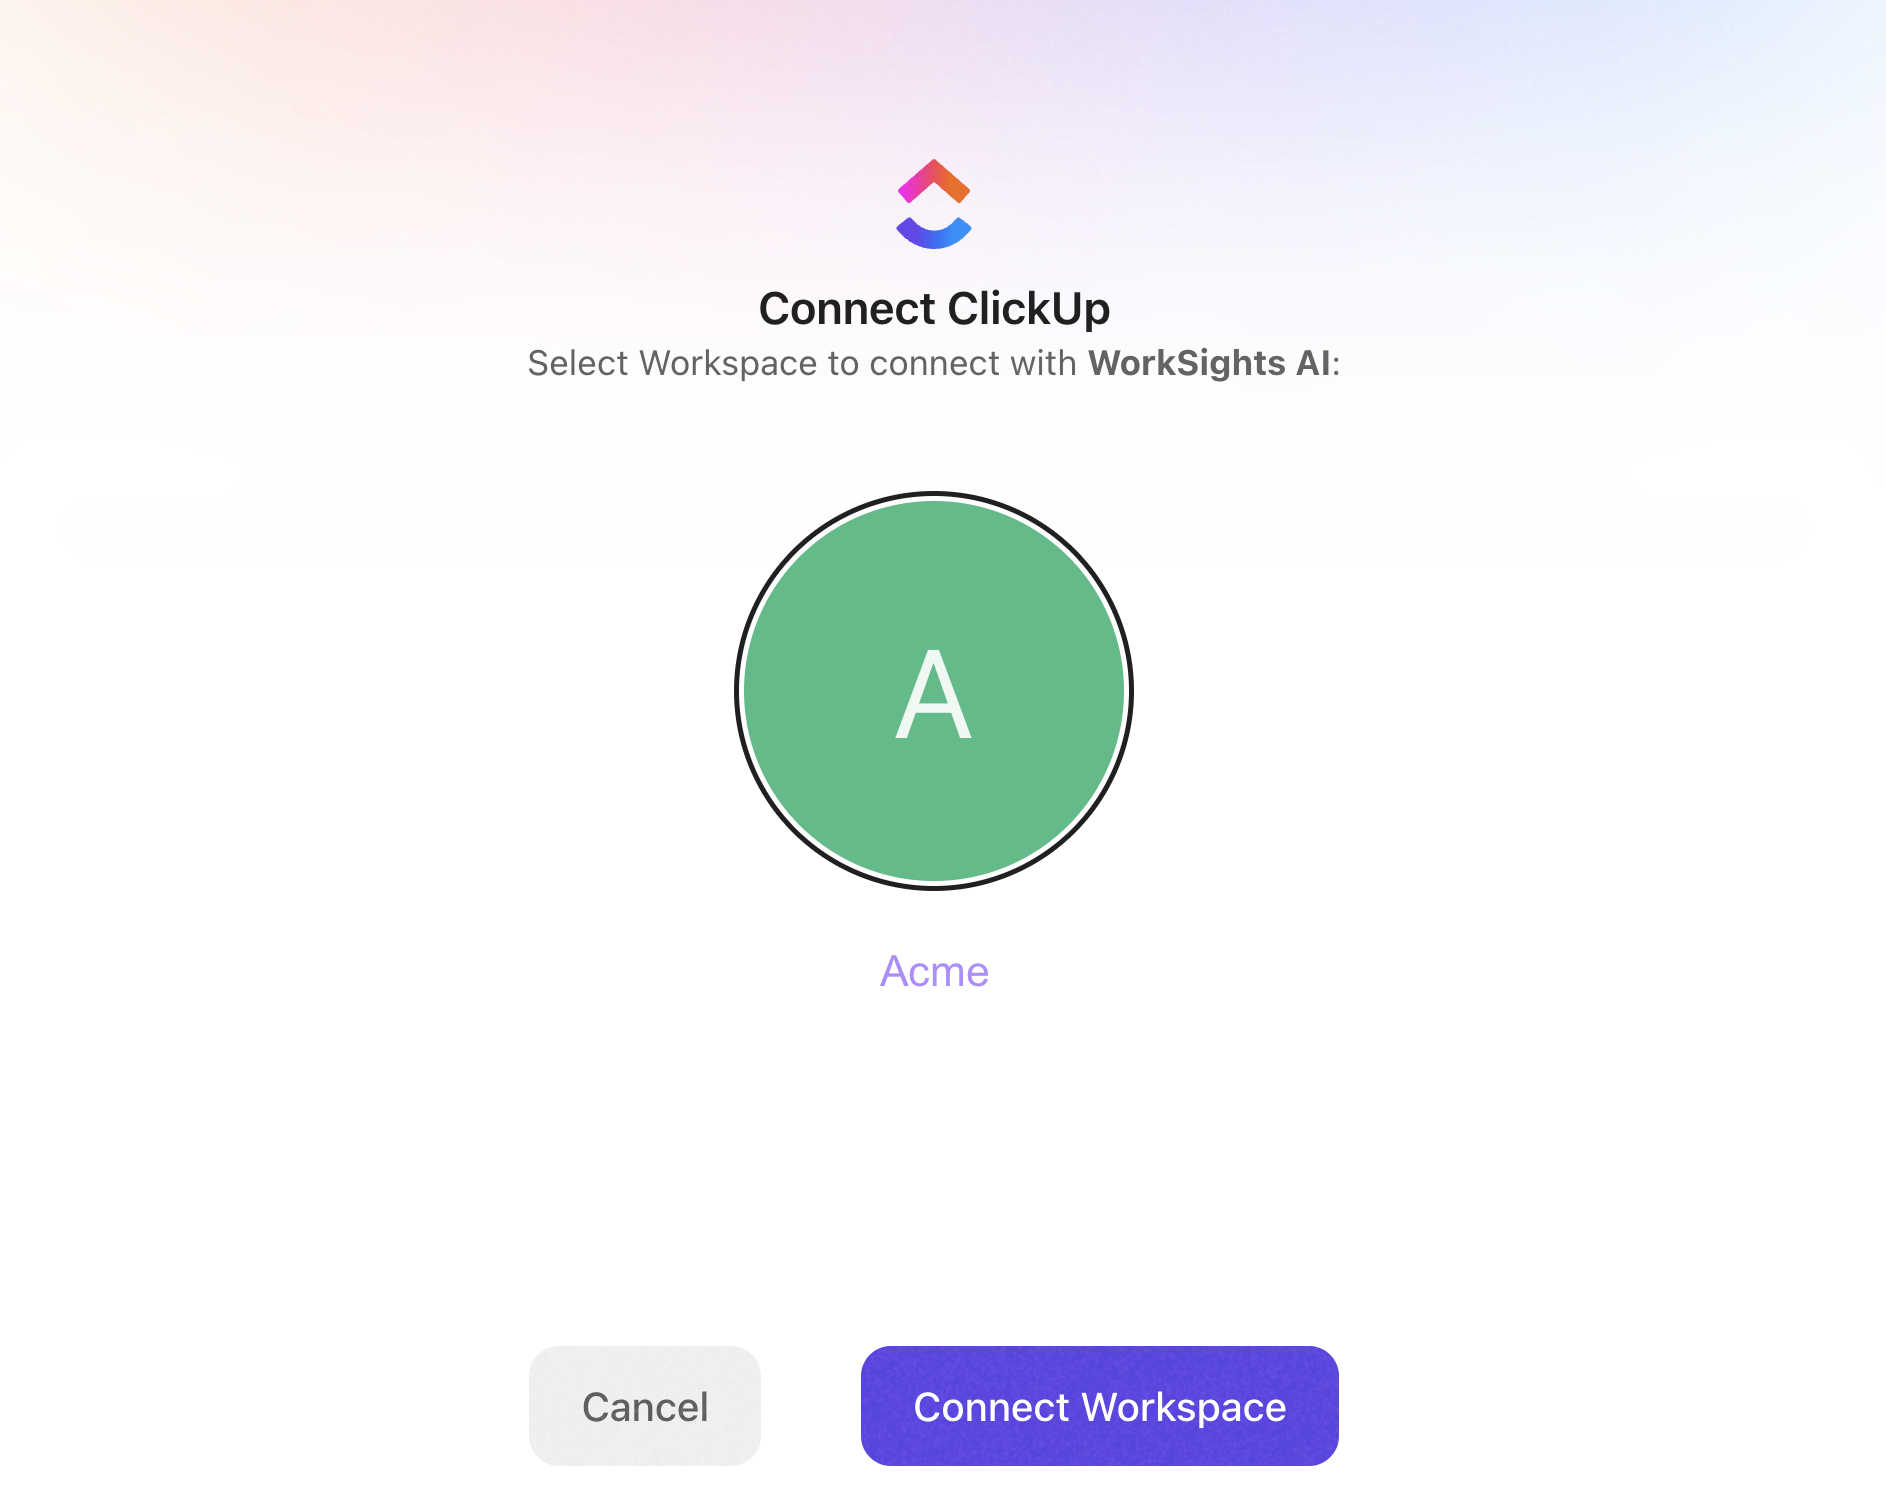
Step 2: Authorize WorkSights in ClickUp
ClickUp will open the authorization page. Review the requested permissions and click Allow to grant WorkSights access to your ClickUp workspace.
WorkSights registers a webhook on your workspace automatically at this point. No additional configuration is required in ClickUp.
Once authorized, WorkSights redirects you back to the integration page.
Step 3: Review user mapping
WorkSights imports your ClickUp workspace members and matches them to WorkSights users by email address.
Open the Users tab to review mappings. For any user that did not map automatically, select the correct WorkSights user from the dropdown to complete the mapping.
Only mapped users will have their ClickUp activity displayed in WorkSights.
What Happens Next
Once connected and users are mapped, WorkSights begins receiving ClickUp activity in real time as your team creates tasks, posts comments, changes statuses, and logs time.
ClickUp does not backfill historical data on connect. Only activity that occurs after the connection is established will appear in WorkSights.
The webhook is tied to the ClickUp user who authorized the connection. For uninterrupted activity ingestion, connect using an account that will remain active in the workspace. If the connecting user is later disabled or removed from ClickUp, contact success@worksights.ai to restore the connection.
User mappings and connection settings can be reviewed and updated at any time from the integration page.